There’s something undeniably magical about the aroma of cinnamon and baked apples wafting through your home on a crisp autumn day. It’s a scent that promises comfort, warmth, and a delicious reward for your efforts. If you’re searching for a dessert that feels both nostalgic and effortlessly simple to create, you’ve found it. This classic apple crisp is a celebration of the season’s best produce, transforming humble ingredients into a show-stopping treat. Warm up your kitchen with this classic apple crisp recipe. Featuring a sweet, spiced apple filling and a crunchy oat topping, it’s the perfect easy dessert for any occasion. Whether you’re hosting a holiday dinner or simply craving a cozy weeknight indulgence, this recipe delivers every time. Let’s dive in and create a dessert that will have everyone asking for seconds.
Why You’ll Love This Apple Crisp
This recipe stands out for its incredible simplicity and foolproof method. Unlike a complicated pie that requires a delicate crust, this easy dessert is all about rustic charm and straightforward steps. The filling comes together in minutes, and the topping requires no special tools—just a bowl and your hands. It’s also incredibly versatile; feel free to add a handful of nuts to the oat topping or a dash of cardamom to the spices. The result is a dessert with a perfect textural contrast: tender, juicy baked apples beneath a crispy, buttery, and generously spiced blanket. It’s the kind of dessert that feels special enough for company but simple enough for a casual family treat.
Best Apples for Baking
Choosing the right apple is the first secret to a perfect crisp. You want varieties that hold their shape during baking while still softening beautifully. A mix of two different types often yields the best flavor and texture complexity.
- Granny Smith: The classic choice. Their tartness provides a wonderful contrast to the sweet topping, and they bake up firm.
- Honeycrisp: These apples are sweet, juicy, and maintain a great texture, offering a balanced flavor.
- Braeburn or Jonagold: Excellent all-purpose apples that are both tart and sweet, becoming tender but not mushy.
- Gala or Fuji: Sweeter varieties that work well if you prefer a less tart filling. They soften more, creating a saucier base.
A combination of Granny Smith and Honeycrisp is highly recommended for a balanced, flavorful filling.
Gathering Your Ingredients
One of the joys of this recipe is that you likely have most of these pantry staples on hand. Here’s what you’ll need for both the filling and the topping.
For the Apple Filling:
- 6-7 cups of peeled, cored, and sliced apples (about 6-8 medium apples)
- 1/4 cup granulated sugar
- 2 tablespoons all-purpose flour
- 1 tablespoon lemon juice
- 1 teaspoon ground cinnamon
- 1/4 teaspoon ground nutmeg
For the Crisp Topping:
- 1 cup old-fashioned rolled oats
- 3/4 cup all-purpose flour
- 3/4 cup packed brown sugar
- 1/2 teaspoon baking powder
- 1/2 teaspoon cinnamon
- 1/2 cup (1 stick) cold unsalted butter, cubed
- Pinch of salt
Preparing the Apple Filling
Begin by preheating your oven to 375°F (190°C). This ensures it’s perfectly heated by the time your crisp is assembled. Take your peeled, cored, and sliced apples and place them in a large mixing bowl. Sprinkle the lemon juice over them and toss to coat; this not only adds a subtle brightness but also helps prevent the apples from browning. Next, add the granulated sugar, 2 tablespoons of flour, cinnamon, and nutmeg. The flour is crucial as it helps thicken the natural juices released by the apples during baking, preventing a runny filling. Mix everything gently until the apple slices are evenly coated with the spiced sugar mixture. Transfer the filling to a 9×9 inch baking dish or a similar-sized pie plate, spreading it into an even layer.
Making the Crisp Topping
This is where the magic happens! In a separate bowl, combine the rolled oats, 3/4 cup flour, brown sugar, baking powder, cinnamon, and salt. Whisk these dry ingredients together. Now, add the cold, cubed butter. Using your fingertips, a pastry cutter, or even two forks, work the butter into the dry mixture. Your goal is to create a crumbly texture with pea-sized lumps of butter throughout. Don’t overmix; a few larger clumps are perfectly fine and will result in an even crispier topping. This method ensures that when the crisp bakes, the butter melts and creates pockets of delicious crispness.
Baking to Golden Perfection
Evenly sprinkle the crisp topping over the prepared apple filling, covering it completely. Do not press it down; you want it to remain loose and airy for maximum crunch. Place the baking dish on the center rack of your preheated oven and bake for 40-50 minutes. The crisp is ready when the filling is bubbly around the edges and the top is a deep, golden brown. The incredible aroma filling your kitchen will be a clear indicator that something wonderful is happening. If you notice the topping browning too quickly, you can loosely tent it with a piece of aluminum foil for the remainder of the baking time.
Quick Baking Reference
| Step | Temperature | Time | Visual Cue |
|---|---|---|---|
| Baking | 375°F (190°C) | 40-50 minutes | Bubbly filling, golden-brown topping |
| Cooling | N/A | 15-20 minutes | Filling will set slightly |
Serving Suggestions
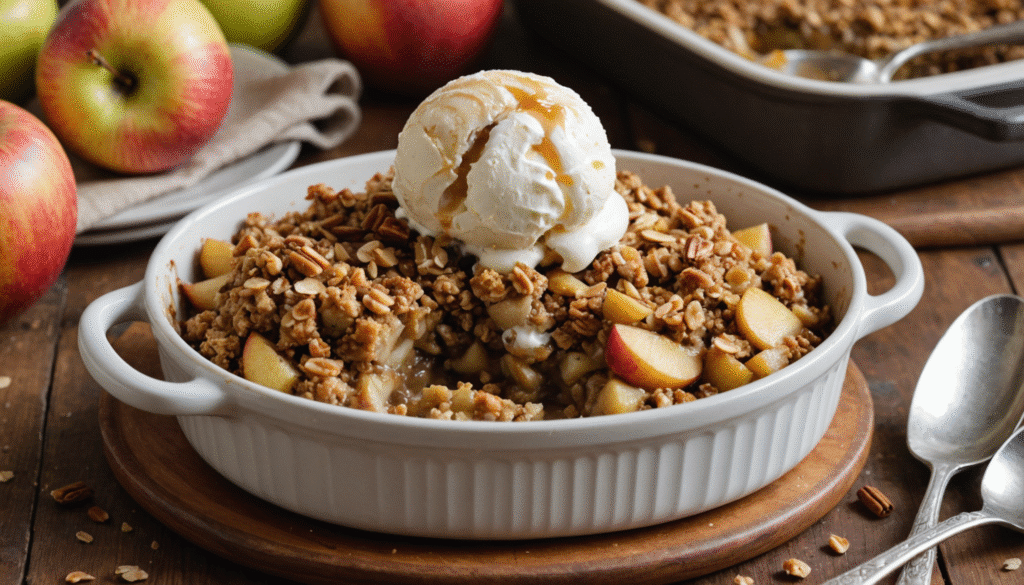
While this apple crisp is absolutely delicious on its own, a few accompaniments can elevate it to a whole new level. For the ultimate comforting experience, serve it warm. The contrast between the hot, soft apples and the cool, melting scoop of vanilla ice cream is simply divine. A dollop of freshly whipped cream is another classic and delightful option. For a slightly less sweet alternative, try a drizzle of cold custard or even a spoonful of Greek yogurt. This dessert is best enjoyed fresh from the oven, but allowing it to rest for 15-20 minutes after baking helps the filling set, making it easier to serve.
Storing and Reheating Tips
If you have any leftovers (a rare occurrence!), they can be stored covered tightly with plastic wrap or in an airtight container in the refrigerator for up to 4 days. The topping will soften in the fridge, but you can easily revive its crunch. To reheat, place individual portions in an oven or toaster oven at 350°F (175°C) for about 10-15 minutes, or until warm throughout. You can also reheat the entire dish in a conventional oven for 15-20 minutes. Microwaving is quick but will result in a softer topping. This crisp also freezes exceptionally well. Assemble it in a freezer-safe dish, wrap it tightly, and freeze for up to 3 months. Bake from frozen, adding 10-15 minutes to the baking time.
This easy apple crisp recipe is more than just a dessert; it’s a timeless creation that brings people together. Its simplicity is its greatest strength, allowing the natural flavors of the fruit and spices to shine. The combination of the tender, spiced apple filling and the irresistible crunchy oat topping is a textural masterpiece that never fails to impress. It’s the perfect dessert to master for fall gatherings, holiday feasts, or any day you need a little warmth and sweetness. So, grab those apples and get ready to create a new family favorite. Happy baking!